Instant Pot Jammy Eggs are more than a kitchen shortcut—they’re a revolution for anyone who craves the creamy, golden center of a perfectly cooked yolk without fuss or failure. Unlike traditional boiling, which requires timing down to the second, the Instant Pot delivers precise results every single time. You just press a button and walk away.
If you’re familiar with our Jammy Eggs 101: What Are Jammy Eggs and Why Everyone Loves Them?, you already know how crucial yolk texture is. That just-barely-set golden center is what makes Instant Pot Jammy Eggs such a standout. Whether you’re prepping breakfast, upgrading a rice bowl, or building a power lunch, this method gives you a reliable way to enjoy them.
In this guide, we’ll break down the science behind cooking jammy eggs under pressure. From the essential timing methods to pairing ideas (like using them in jammy egg salad or adding them to your favorite ramen), you’ll find everything you need to master the Instant Pot version.
Table of Contents
Why Instant Pot Jammy Eggs Are the Ultimate Breakfast Upgrade
Instant Pot Jammy Eggs aren’t just a cooking trick—they’re a modern solution to the age-old challenge of getting perfectly creamy yolks. If you’ve ever hovered over a boiling pot, timer in hand, praying the eggs turn out jammy and not overcooked, you know the struggle. But with the Instant Pot, you get clean, consistent results every time—and it only takes minutes.
Compared to methods like stove boiling (explained in detail in our How Long to Boil Jammy Eggs), the Instant Pot removes all the guesswork. It creates a sealed environment where pressure and steam work together to cook your eggs evenly, from white to yolk. No swirling the pot, no fluctuating heat—just tap, set, and forget. It’s the most reliable way to get those signature jammy centers.
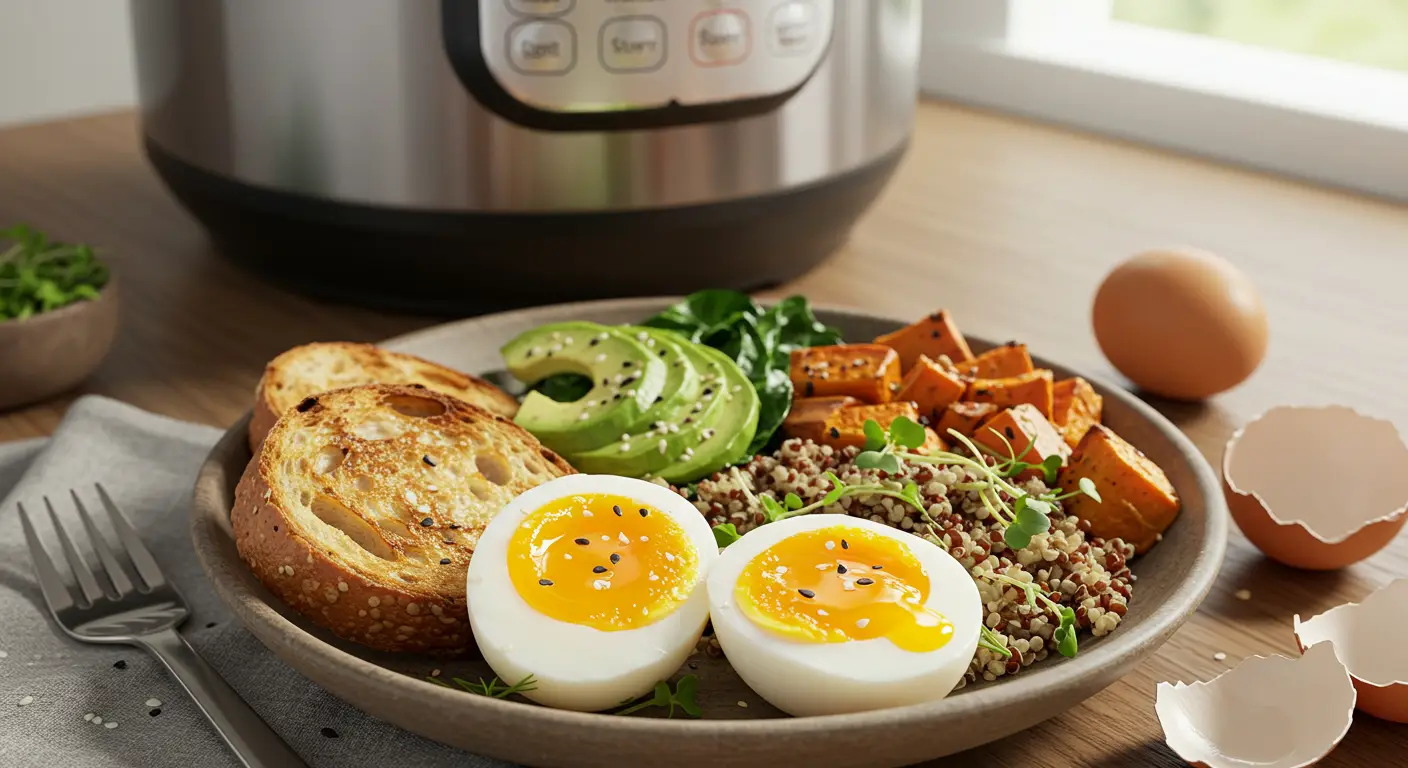
And when it comes to prep time? You’re looking at less than 10 minutes start to finish. That’s why many of our readers now use Instant Pot Jammy Eggs as a go-to base for breakfast bowls, high-protein meal prep, or topping their jammy egg salad with style and ease.
Another reason people love this method is the peeling. Pressure cooking helps release the shell membrane, making eggs easier to peel than those cooked traditionally. So if you’ve struggled with torn whites or dimpled yolks, the Instant Pot brings that to an end.
You’ll also notice how this method compares favorably with other techniques we’ve covered, like the Air Fryer Jammy Eggs. While air frying is great for a no-water setup, the Instant Pot gives you better control over both timing and texture—especially if you’re particular about that perfect golden center.
Whether you’re adding them to a warm ramen bowl or using them as a stand-alone snack, Instant Pot Jammy Eggs are the fastest, most foolproof way to upgrade your mornings.
Timing Secrets for Perfect Instant Pot Jammy Eggs
To get Instant Pot Jammy Eggs just right, it all comes down to mastering the timing. Pressure cooking may seem technical, but once you understand two essential timing methods—5-4-1 and 5-5-5—you’ll never miss that jammy center again.
What Is the 5-4-1 Method?
The 5-4-1 method is a favorite among Instant Pot users who love creamy, jammy yolks with structure. Here’s what it means:
- 5 minutes under high pressure
- 4 minutes natural pressure release
- 1 minute in an ice bath
This technique is foolproof. Your eggs come out with fully set whites and luscious golden centers that hold their shape—perfect for layering over rice, topping toast, or adding to a jammy egg salad. It’s also ideal for prepping multiple eggs for the week.
What About the 5-5-5 Method?
The 5-5-5 method goes a step further:
- 5 minutes pressure cook
- 5 minutes natural release
- 5 minutes in ice water
The result? Slightly firmer yolks, still tender but edging toward medium-boiled. If you’re packing lunchboxes or making a more robust Instant Pot Jammy Egg ramen bowl, this texture works beautifully.
How Does It Compare to Other Methods?
Unlike boiling on the stove, which we explored in detail in How Long to Boil Jammy Eggs, the Instant Pot controls pressure and heat perfectly. You don’t need to guess or stir or monitor temperature. With Instant Pot Jammy Eggs, the outcome is consistent—even when cooking large batches.
If you’re familiar with Sous Vide Jammy Eggs, you know it delivers precision—but at a cost. Sous vide eggs can take 45 minutes or more. By contrast, the Instant Pot takes less than 10 minutes from start to finish.
| Method | Total Time | Texture | Use Case |
|---|---|---|---|
| Instant Pot – 5-4-1 | ~10 min | Creamy, jammy yolk | Toast, salad, meal prep |
| Instant Pot – 5-5-5 | ~15 min | Slightly firmer yolk | Lunchboxes, hearty salads |
| Sous Vide | ~50 min | Precise, jammy | Entertaining, advanced cooks |
| Stove-Boiled (6.5 min) | ~15 min | Variable | Requires ice bath and timing |
When it comes to ease, speed, and reliability, Instant Pot Jammy Eggs truly shine. They’re the gold standard for busy home cooks who don’t want to sacrifice texture or flavor.
Tools and Step-by-Step Guide for Making Instant Pot Jammy Eggs
Making Instant Pot Jammy Eggs might sound high-tech, but all you really need is the right setup and a reliable timer. This section breaks down the exact tools and steps so you can nail that creamy center on your first try—and every time after that.
Tools You’ll Need
To keep things simple, here’s what should be on your counter before you start:
- Instant Pot or electric pressure cooker
- Trivet or steamer basket to hold eggs above water
- Tongs or a slotted spoon for easy handling
- Ice water bowl for a fast chill (this stops overcooking)
- Timer or phone to track release and cooling steps
If you’re new to pressure cooking, don’t worry. We’ve broken the entire method down, just like we did in our detailed How to Make Jammy Eggs guide.

Step-by-Step Instructions
- Add Water to the Pot
Pour 1 cup of cold water into your Instant Pot. This helps build pressure and cooks the eggs with steam. - Place the Eggs
Put your eggs (straight from the fridge or room temp) on a trivet or in a steamer basket inside the pot. - Seal and Set
Close the lid and set the valve to “Sealing.” Select the Pressure Cook function and set to 5 minutes on High Pressure. - Natural Pressure Release
After cooking, allow the pot to sit for 4 minutes before switching the valve to “Venting” to release any remaining pressure. This is part of the famous 5-4-1 method we covered earlier. - Ice Bath Time
Immediately transfer the eggs to an ice water bath and let them chill for 1 minute. - Peel and Enjoy
Crack the shells and peel gently. You’ll notice the whites are firm yet tender, and the yolks—glorious, jammy perfection.
If you’re wondering why this method works so reliably, it’s all in the science of pressure. Compared to traditional boiling (which we covered in What Is a Jammy Egg?), the Instant Pot controls both heat and pressure for even cooking. No guesswork. No timing roulette.
Quick Tip
Want even easier peeling? Try adding a splash of vinegar to the water. It can help loosen the shell from the membrane.
Once you’ve mastered these steps, Instant Pot Jammy Eggs will become your go-to for fast breakfasts, easy lunches, or that last-minute protein topping your bowl was missing.
How to Store and Reheat Without Losing That Jammy Center
After you’ve made a perfect batch of Instant Pot Jammy Eggs, the next step is storing them the right way. Whether you’re prepping for the week or just saving a few for tomorrow’s lunch, storage can make or break the texture. No one wants a dry, chalky yolk the next day.
How to Store Instant Pot Jammy Eggs
To keep that yolk creamy and the whites soft:
- Store unpeeled eggs in the fridge (they hold moisture better this way)
- Place them in an airtight container, ideally in a single layer
- Use within 4–5 days for best taste and texture
If you’ve already peeled them, wrap each egg in plastic or parchment to keep them from drying out.
Jammy eggs are safe to store, but as discussed in Are Jammy Eggs Safe to Eat?, they must be kept refrigerated at all times. Their partially set yolks make them more sensitive than hard-boiled eggs.
| Storage Method | Peel Status | Max Duration | Best Use |
|---|---|---|---|
| Airtight, unpeeled | No | 5 days | Meal prep, on-the-go snacks |
| Wrapped & sealed | Yes | 3–4 days | Ready for slicing into ramen |
How to Reheat Jammy Eggs Without Overcooking
Technically, jammy eggs are best enjoyed cold or at room temperature. But if you like your eggs warm, here’s how to reheat them without wrecking the yolk:
- Place the egg (in shell) in warm—not hot—water for 2–3 minutes
- Or microwave a peeled egg with a damp paper towel for 10 seconds—no more!
Avoid using full heat or long microwave times. The jammy yolk can easily turn dry or rubbery.
Are They Safe for Everyone?
If you’re wondering about serving Instant Pot Jammy Eggs to your family, rest assured: they are safe when cooked and stored properly. However, for vulnerable groups like pregnant women, it’s essential to ensure the yolks are set to a safe level. Check out our dedicated guide: Can Pregnant Women Eat Jammy Eggs?
Jammy eggs made in the Instant Pot often reach higher temperatures more reliably than stovetop methods, making them a safer option overall.
Creative Ways to Serve Instant Pot Jammy Eggs
You’ve mastered Instant Pot Jammy Eggs—now what? These golden-yolk beauties deserve more than just being sliced on toast. Their velvety center and firm whites make them one of the most versatile ingredients in your fridge. Let’s talk about some delicious, no-fuss ways to serve them that go way beyond breakfast.

1. Ramen Bowl Upgrade
This one’s a classic. Halve your jammy eggs and gently nestle them into a steaming bowl of miso or tonkotsu ramen. The yolk adds richness, balancing the salty umami broth. For deeper flavor, marinate the peeled eggs for a few hours in a mix of soy sauce, mirin, and garlic—like we did in our Jammy Eggs for Ramen. It’s a flavor bomb.
2. Salad Power Boost
Looking for a way to add protein and texture to your greens? Slice Instant Pot Jammy Eggs right over arugula, kale, or spinach. The runny yolk acts almost like a dressing. Toss in radishes, cucumbers, or chickpeas for crunch. If you’re feeling bold, layer them into our favorite Jammy Egg Salad—a complete, balanced meal in a bowl.
3. Toast with a Twist
Forget boring avocado toast. Top a toasted slice of sourdough with smashed peas or creamy ricotta, then add a halved jammy egg, flaky salt, and chili oil. It’s fast, filling, and brunch-worthy. Bonus points for microgreens or a drizzle of tahini.
4. Grain Bowls and Leftovers
Got leftover rice, farro, or quinoa? Build a bowl. Add roasted veggies, some greens, a splash of lemon vinaigrette, and crown it with your Instant Pot Jammy Eggs. It transforms scraps into a balanced, satisfying dish.
5. Pickled for Later
Want something more complex? Try pickling jammy eggs in beet juice, rice vinegar, or Korean gochujang sauce. The whites soak up the color and flavor, while the yolk stays tender. Serve them sliced on crackers, grain salads, or simply on their own as a bold snack.
| Serving Style | Best Pairings | Occasion |
|---|---|---|
| Ramen Topping | Soy marinade, green onions | Dinner or late night |
| Salad Addition | Arugula, radishes, vinaigrette | Light lunch or brunch |
| On Toast | Sourdough, ricotta, chili oil | Quick breakfast |
| Grain Bowl | Farro, kale, tahini | Meal prep or leftovers |
| Pickled Snack | Beet juice, gochujang, herbs | Entertaining or snack |
Whether you like them savory or tangy, elegant or rustic, Instant Pot Jammy Eggs adapt beautifully. Their creamy center pairs with textures across the board—crispy, crunchy, smooth, spicy. It’s no wonder they’re the ultimate “put-it-on-everything” ingredient.
Troubleshooting & Tips for Consistency with Instant Pot Jammy Eggs
So you’ve followed all the steps, but your Instant Pot Jammy Eggs still don’t come out perfect every time? Don’t worry—slight inconsistencies are normal, especially when you’re just starting out. But with a few smart tips, you can troubleshoot common issues and turn your next batch into jammy perfection.
Common Mistakes and How to Fix Them
1. Yolks too runny or undercooked?
This usually means the pressure time wasn’t long enough. Make sure your Instant Pot was fully sealed and reached high pressure before the timer started. Try extending the cook time by 30 seconds or increasing the natural release by a minute.
2. Whites rubbery or overcooked?
Likely caused by too long in the Instant Pot or ice bath. Stick to the 5-4-1 method closely. If you’re using older eggs, the whites can toughen faster. Fresher eggs hold texture better under pressure.
3. Shells hard to peel?
This is a common issue that’s often about temperature contrast. Always use an ice bath, even if you’re short on time. As suggested in How to Make Jammy Eggs, slightly older eggs peel more easily than very fresh ones.
| Problem | Possible Cause | Fix |
|---|---|---|
| Runny yolks | Not enough pressure or short release | Add 30s pressure or extend natural release |
| Rubbery whites | Overcooking or delayed cooling | Reduce pressure time or shorten ice bath |
| Shells won’t peel | No ice bath or too-fresh eggs | Use older eggs and chill immediately |
Tips for Batch Cooking
Want to make six or more Instant Pot Jammy Eggs at once? Space them out on the trivet and don’t stack. If your eggs are crowded, they cook unevenly. Use the same water volume (1 cup) and timing, even if making more.
Also, remember that egg size matters. Large eggs (about 57–63g) work best. Extra-large or small eggs will need slight timing tweaks—just as we noted in How Long to Boil Jammy Eggs.
One Final Trick
Every Instant Pot behaves slightly differently depending on age, altitude, and model. If you’re noticing repeat issues, keep a cooking journal. Track time, method, and results. Within 2–3 batches, you’ll know your machine’s “sweet spot.”
With a little fine-tuning, your Instant Pot Jammy Eggs will be foolproof. No more guessing. Just golden yolks and tender whites—every single time.
FAQs About Instant Pot Jammy Eggs
What is the 5 5 5 method for eggs in Instant Pot?
The 5-5-5 method stands for 5 minutes pressure cook, 5 minutes natural release, and 5 minutes in an ice bath. While great for hard-boiled eggs, it's too long for Instant Pot Jammy Eggs, which only need about 5-4-1 to keep the yolk jammy and creamy.
What is the 5 5 5 rule for eggs?
It’s a rule of thumb for cooking eggs in an Instant Pot: 5 minutes cooking, 5 minutes natural pressure release, 5 minutes cooling. This yields firm yolks, not the soft center we want for jammy eggs. For perfect Instant Pot Jammy Eggs, reduce the timing as shown in our step-by-step guide.
How long do you soft boil eggs in the Instant Pot?
To soft boil in the Instant Pot, cook on High Pressure for 3–4 minutes with a quick release. For jammy eggs, you need a bit longer—5 minutes on High Pressure, 4 minutes natural release, and a short ice bath. That combination gives you a tender white and a rich, slightly gooey center.
How many minutes is a jammy egg?
For stovetop methods, jammy eggs take about 6–7 minutes in boiling water. But for Instant Pot Jammy Eggs, the magic number is 5 minutes pressure cook, followed by 4 minutes natural release and 1 minute in an ice bath for ideal consistency.
Conclusion
If you’ve been chasing the perfect yolk—creamy, golden, and never runny or dry—Instant Pot Jammy Eggs are your answer. With just the press of a button, you can achieve consistent, flawless results that beat the stovetop method every time. Whether you’re prepping for a busy week, building a salad, or crafting the ultimate ramen bowl, this method makes jammy eggs simple, safe, and repeatable.

We’ve covered everything from cook times to storage, flavor pairings to troubleshooting. And thanks to the versatility of jammy eggs, you can enjoy them in countless ways—on toast, in salads, or paired with your favorite ramen broth.

By using the Instant Pot, you're not just saving time—you’re unlocking the full potential of one of the most satisfying textures in cooking. Try it once, and we guarantee it’ll become your go-to method.
Hungry for inspiration? Visit our Facebook page to discover new flavors and fan-favorite recipes.