   Chocolate and coconut together is magical. As a dessert fan, I love the taste of Mounds candy bars. This easy recipe brings that joy into your kitchen, turning simple ingredients into a rich treat.

Making the perfect mounds cake is more than mixing ingredients. It's about creating a special moment. Whether it's for family or a late-night craving, this recipe promises bliss in every bite.

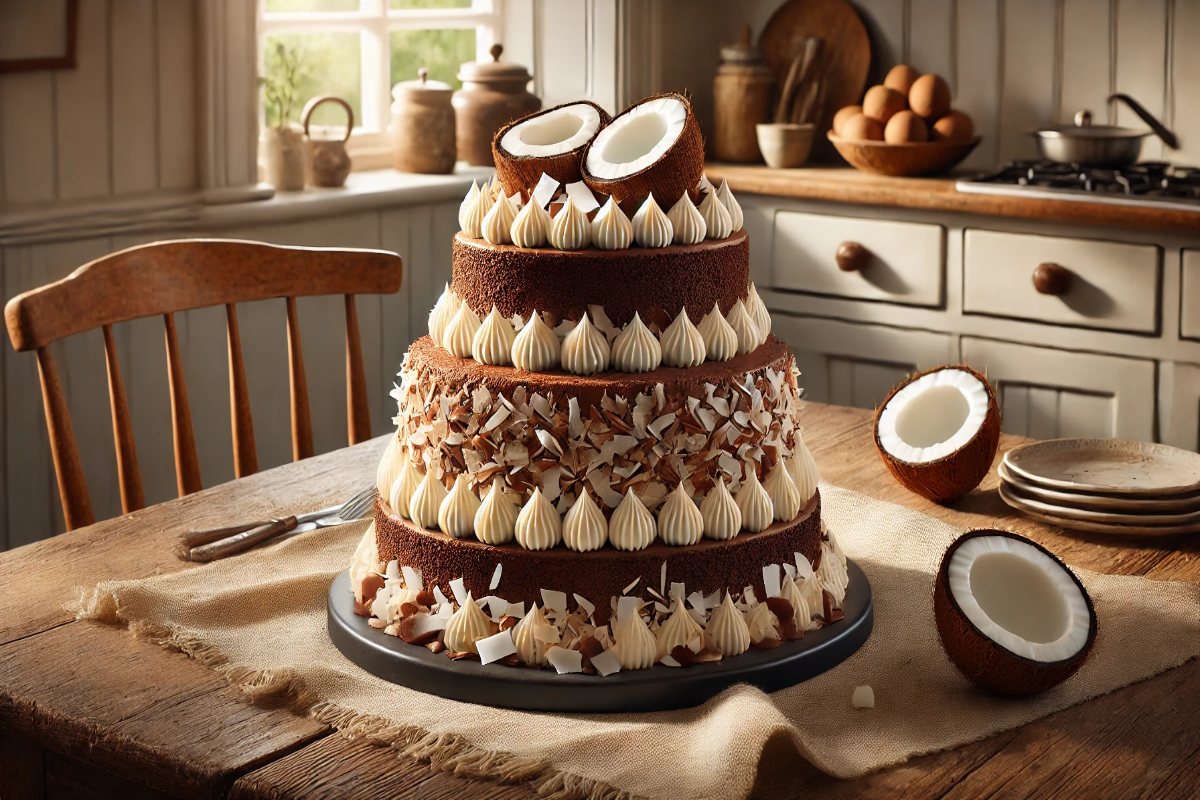
Picture a moist chocolate base, creamy coconut filling, and rich chocolate ganache on top. This cake turns simple baking into a special adventure. With just five steps, you'll make a dessert that looks like it came from a bakery but feels homemade.

Get ready for a delicious adventure that will excite your taste buds and wow your guests. Let's explore the world of Mounds-inspired desserts together!
Table of contents
Understanding the Magic of Chocolate and Coconut Combination
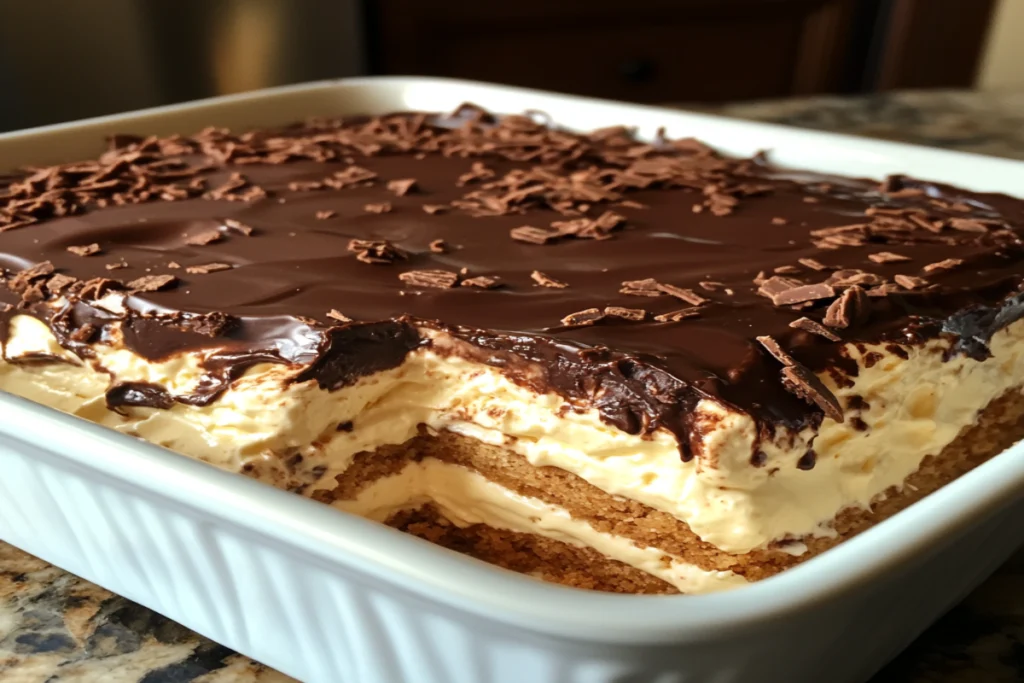

Desserts rarely get better than the magical combination of chocolate and coconut. This Mounds Cake Recipe lets you experience the same irresistible flavors inspired by the classic Mounds candy bar. Starting your baking journey with this recipe means diving into a rich history and savoring an unforgettable taste.
History of the Classic Mounds Cake Recipe Flavor
The love story of chocolate and coconut began in 1920, when the Peter Paul Manufacturing Company introduced the iconic Mounds candy bar. This creation forever changed how we enjoy homemade coconut cake recipes, inspiring countless variations like this delectable Mounds Cake Recipe.
"Chocolate and coconut: a match made in dessert heaven"
Why This Combination Works So Well
Chocolate and coconut’s secret is their perfect match:
- Chocolate brings deep, rich flavors
- Coconut adds a sweet, tropical touch
- Together, they make a moist coconut cake
Benefits of Making It at Home
Making your own moist coconut cake has big perks:
- You get fresher ingredients
- You control the flavors
- You can adjust the texture
- It’s cheaper than buying it
| Homemade vs Store-Bought | Homemade Coconut Cake | Store-Bought Cake |
|---|---|---|
| Ingredient Quality | High-quality, fresh ingredients | Processed, preservative-laden |
| Flavor Customization | Unlimited options | Limited variations |
| Cost | More economical | Higher price point |
Learning about chocolate and coconut will boost your baking. You’ll make irresistible desserts that everyone will adore.
Essential Ingredients for Your Mounds Cake Recipe
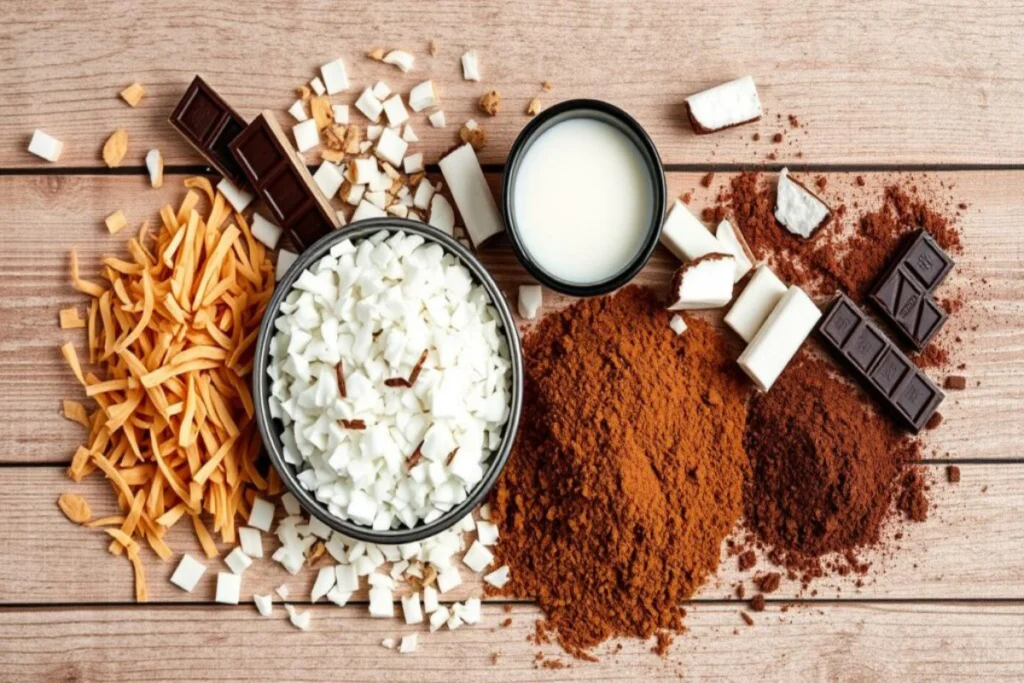
To make the perfect chocolate coconut dessert, you need the right ingredients. These ingredients will bring out the rich flavors of the classic coconut cake. Your delicious coconut cake will come to life with a mix of pantry staples and specialty items.
Let’s dive into the key ingredients you’ll need to craft this decadent treat:
- Devil’s food cake mix (1 box)
- Large eggs (3-4)
- Whole milk
- Vegetable oil
- Sweetened shredded coconut
- Sweetened condensed milk
- Pure vanilla extract
- Semisweet chocolate chips
- Heavy cream
"The magic of a great cake lies in the quality of its ingredients." - Baking Experts
Your ingredient selection is key to creating the ultimate chocolate coconut dessert. The sweetened condensed milk adds a rich, creamy texture. This elevates the cake’s flavor profile.
| Ingredient | Quantity | Purpose |
|---|---|---|
| Shredded Coconut | 2 cups | Adds signature texture and flavor |
| Sweetened Condensed Milk | 1 can (14 oz) | Creates creamy, complex sweetness |
| Semisweet Chocolate Chips | 1 cup | Provides rich chocolate flavor |
Pro tip: Choose high-quality ingredients for the best results. The right ingredients can make a good dessert unforgettable.
Must-Have Tools for Crafting Your Mounds Cake Recipe
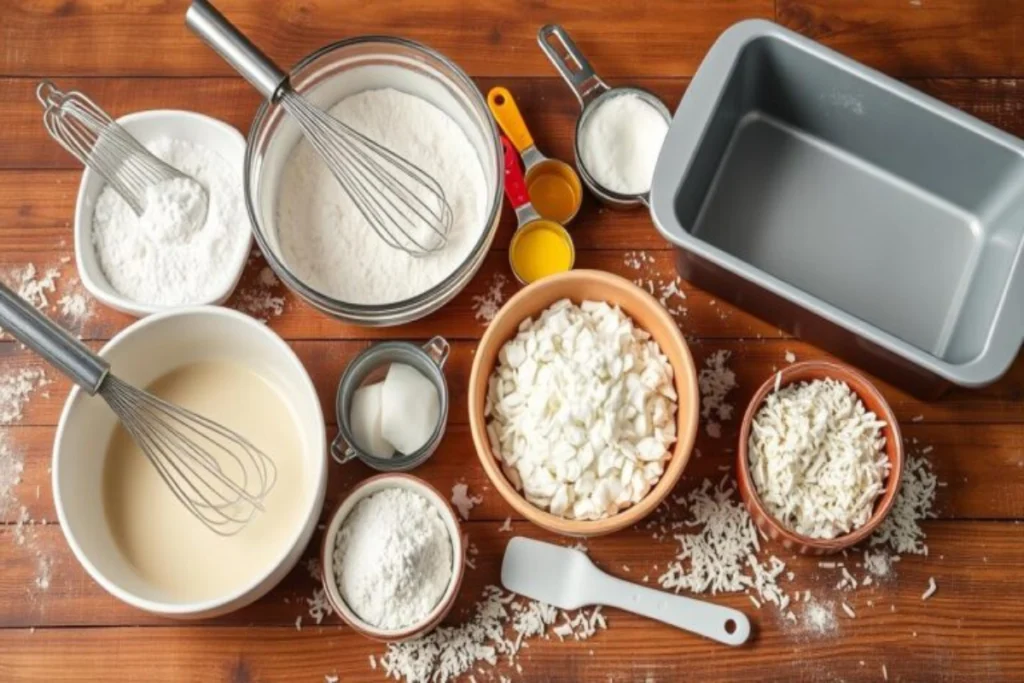
Making a tasty homemade coconut cake needs the right tools. Whether you’re new to baking or have experience, the right tools make it easier and more fun.
Must-Have Baking Tools
For an easy chocolate coconut cake, you’ll need some basic kitchen tools:
- Two 8-inch or 9-inch round cake pans
- Stand mixer or hand mixer
- Large mixing bowls
- Sifter or fine-mesh strainer
- Offset spatula
- Parchment paper or non-stick baking mats
Optional but Helpful Equipment
These tools are not essential but can make baking better:
- Springform pan
- Double boiler for melting chocolate
- Digital kitchen scale
- Pastry brush
Measuring and Mixing Tools
Getting the measurements right is crucial for a perfect coconut cake. Invest in good measuring tools:
| Tool | Purpose |
|---|---|
| Liquid measuring cups | Accurate liquid measurements |
| Dry measuring cups | Precise dry ingredient quantities |
| Measuring spoons | Small ingredient measurements |
| Rubber spatula | Scraping and folding ingredients |
| Whisk | Mixing and aerating ingredients |
"The right tools can transform an average recipe into a culinary masterpiece." - Professional Baker
Quality tools make preparing your mounds cake recipe smoother and more fun. Invest in good equipment, and you’ll see a big difference in your baking.
Setting Up for Success: Workspace and Ingredient Prep for Mounds Cake Recipe
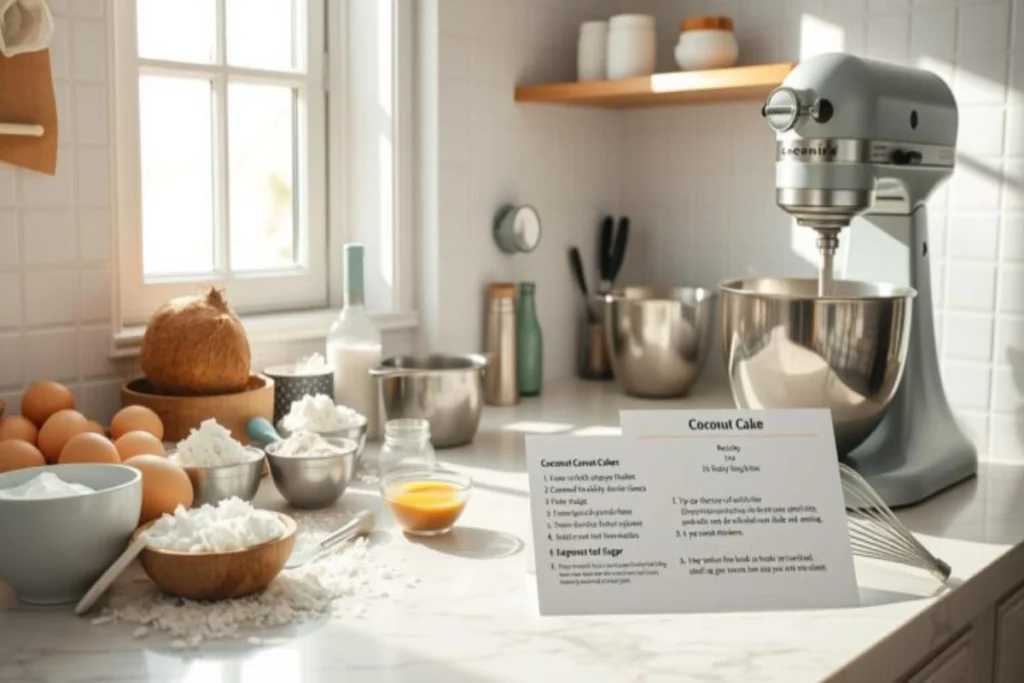
Baking a moist coconut cake needs careful prep and organization. A well-set kitchen can make your chocolate coconut dessert stand out. Before mixing, make sure your baking area is perfect.
Start by collecting all needed ingredients and tools. A tidy workspace makes baking easier and avoids mistakes. Remember these key steps:
- Remove ingredients from the fridge 30-45 minutes before baking
- Make sure all ingredients are at room temperature
- Preheat your oven to 350°F (175°C)
- Prepare baking pans with butter or parchment paper
- Measure ingredients precisely before starting
Professional bakers stress the importance of ingredient temperature. Eggs, butter, and milk at room temperature mix better. This leads to a more even cake texture. Also, accurate measurements are key for consistent results.
"Preparation is the secret ingredient in every great baking adventure."
Your workspace setup is crucial for a great coconut cake. Arrange measuring cups, mixing bowls, spatulas, and tools within reach. This setup reduces stress and helps you create a delicious chocolate coconut dessert that will wow everyone.
How to Bake the Perfect Chocolate Cake Base for Your Mounds Cake Recipe
Making a tasty coconut cake begins with a rich chocolate base. It’s important to prepare it well. This ensures a moist and flavorful base for your mounds cake recipe.
Mastering the Mixing Process
The secret to a great chocolate cake is in the mixing. Follow these steps for a tender, moist cake:
- Sift dry ingredients thoroughly to remove lumps
- Cream butter and sugar until light and fluffy
- Add eggs one at a time, mixing gently
- Fold in dry ingredients carefully to avoid overmixing
Baking Temperature Secrets
Getting the right baking temperature is key for your mounds cake recipe. Most chocolate cakes do best at certain temperatures:
| Cake Mix Type | Temperature | Baking Time |
|---|---|---|
| Devil’s Food Cake | 325°F | 28-32 minutes |
| German Chocolate Cake | 350°F | 30-35 minutes |
| Chocolate Fudge Cake | 325°F | 25-30 minutes |
Checking Cake Doneness
Make sure your coconut cake is baked just right with these tips:
- Insert a toothpick into the cake’s center
- Look for a clean toothpick with minimal crumbs
- Gently press the cake’s surface – it should spring back
- Check for even golden-brown coloration
"A perfectly baked chocolate cake is the foundation of an incredible dessert experience."
Pro tip: Let your cake cool completely before adding the coconut filling. This prevents melting and keeps the texture perfect for your coconut cake.
Tips to Perfect the Sweet Coconut Filling for Your Mounds Cake Recipe
Making the perfect coconut filling is key for your easy chocolate coconut cake. It turns a simple dessert into a showstopper that wows everyone.
To make the best coconut filling, you’ll need a few ingredients:
- 1 14-oz bag of sweetened flaked coconut
- ⅞ cup sweetened condensed milk
- 1 teaspoon vanilla extract
- 2 large egg whites
- ¼ teaspoon salt
The secret to a great coconut filling is in the prep. Mix the coconut with sweetened condensed milk gently. This ensures all flavors are evenly spread.
"The perfect coconut filling is about balance and texture" - Baking Experts
Here’s a quick look at the coconut filling’s nutrition:
| Nutritional Aspect | Amount per Serving |
|---|---|
| Calories | 134 |
| Total Fat | 8g |
| Saturated Fat | 6g |
| Carbohydrates | 16g |
| Protein | 2g |
Spread the coconut mixture evenly over the cake base. This makes sure every bite is full of creamy coconut flavor.
Pro tip: For the ultimate easy chocolate coconut cake, let the filling set a bit before adding the chocolate layer. This creates a perfect texture contrast that makes your dessert unforgettable.
How to Make a Decadent Chocolate Ganache for Your Mounds Cake Recipe
Making the perfect chocolate ganache is key to turning your moist coconut cake into a rich chocolate treat. The right method can make your coconut cake go from good to amazing.
Selecting Premium Chocolate
Choosing the right chocolate is crucial for your ganache. For the best taste, pick:
- High-quality bittersweet chocolate (60-70% cocoa content)
- Semisweet chocolate chips
- Imported Belgian or Swiss chocolate for maximum depth
Achieving Perfect Ganache Consistency
The secret to smooth ganache is in the temperature and technique. Here are some expert tips for a luxurious topping:
- Heat 1/3 cup heavy cream until just simmering
- Remove from heat and add 6 ounces of bittersweet chocolate
- Let mixture sit for 4 minutes without stirring
- Gently whisk until smooth and glossy
"A perfect ganache should flow like silk and shine like chocolate glass." - Pastry Chef Insight
Pro tip: Let your ganache cool a bit before pouring it over the cake. This makes the cake look like it was professionally decorated.
Assembling and Decorating Your Mounds Cake Recipe Like a Pro
Making the perfect mounds cake recipe needs careful assembly and creative decoration. Your easy chocolate coconut cake will come to life with these techniques. They turn a simple dessert into a stunning centerpiece.
First, make sure your cake layers are completely cooled. This stops the ganache from melting and keeps your cake’s structure strong. Place the first chocolate cake layer on a sturdy cake stand or serving plate.
- Spread an even layer of coconut filling across the first cake base
- Gently place the second cake layer on top
- Apply a thin crumb coat of chocolate ganache
- Refrigerate for 15-20 minutes to set the initial layer
For professional-looking decoration, use these expert tips:
- Create textured ganache using a fork or offset spatula
- Sprinkle toasted coconut flakes around the edges
- Drizzle additional melted chocolate in elegant patterns
- Consider adding chocolate shavings for extra visual appeal
"A beautifully decorated cake is a feast for both the eyes and the palate." - Pastry Chef Recommendation
Your final easy chocolate coconut cake will be a showstopper. It combines rich chocolate and tropical coconut flavors. Remember, patience during assembly makes your dessert look professional and impresses your guests.
How to Store and Serve Your Mounds Cake Recipe for Best Results
Creating the best coconut cake recipe is just the start. Knowing how to store and serve your moist coconut cake is key. This ensures you enjoy it at its best. Let’s explore the essential tips for keeping your dessert fresh.
Proper Storage Methods
Your homemade coconut cake needs careful storage to keep its amazing taste and texture. Follow these tips to keep your cake in top shape:
- Store in an airtight container to prevent moisture loss
- Refrigerate for up to 4-5 days
- Cover with plastic wrap or aluminum foil
Freezing Techniques
Freezing is a great option for long-term storage of your moist coconut cake. Wrap individual slices or the whole cake carefully to keep it fresh.
| Storage Method | Duration | Recommended Approach |
|---|---|---|
| Refrigerator | Up to 5 days | Airtight container |
| Freezer | Up to 1 month | Wrapped in plastic and foil |
Serving Temperature Guidelines
Temperature greatly affects your cake’s taste and texture. Pro tip: Let your refrigerated coconut cake sit at room temperature for about 30 minutes before serving. This makes it soft and moist again, and brings out the flavors.
"The secret to a perfect slice is patience and proper temperature!" - Baking Enthusiast
Freshness Duration Tips
To keep your coconut cake delicious:
- Check for moisture retention
- Avoid direct sunlight
- Keep away from heat sources
- Consume within recommended timeframe
By following these tips, you’ll enjoy a delicious homemade coconut cake that tastes like it was just baked!
Common Mounds Cake Recipe Problems and How to Fix Them
Making a tasty coconut cake can be tricky. Whether you’re new to baking or have lots of experience, knowing common problems helps. This way, you can make a perfect classic coconut cake every time.
Many baking problems have simple fixes. Here are some tips for your chocolate coconut dessert:
- Dry Cake Texture
- Measure ingredients precisely
- Do not overmix batter
- Check oven temperature with a separate thermometer
- Uneven Baking
- Rotate pan midway through baking
- Use room temperature ingredients
- Ensure even batter distribution
"Baking is a science, but with practice, anyone can master the art of a perfect chocolate coconut dessert." - Professional Baker's Wisdom
Dealing with ganache can be tricky. If it’s too runny, let it cool a bit. If it’s too thick, warm it gently and whisk until it’s smooth. Making a classic coconut cake takes patience.
| Problem | Solution |
|---|---|
| Coconut Filling Too Thin | Add confectioners’ sugar, 1 tablespoon at a time |
| Cake Appears Dense | Ensure fresh baking powder, avoid overmixing |
Even if your first try isn’t perfect, don’t worry. Each time you bake, you learn something new. The fun of making a homemade coconut cake is in the journey itself.
Creative Variations and Substitutions for Your Mounds Cake Recipe
Make your easy chocolate coconut cake your own with creative twists. These changes can meet different dietary needs and taste preferences. The homemade coconut cake is perfect for experimenting and customizing.
- Dietary Adaptations:
- Vegan version: Use dairy-free chocolate and vegan condensed milk
- Gluten-free option: Substitute standard flour with gluten-free mix
- Nut-free alternative: Remove almonds completely
Flavor Enhancement Techniques:
- Almond Joy Inspiration:
- Add almond extract for deeper flavor
- Sprinkle toasted almond slivers on top
- Chocolate Intensity:
- Use dark chocolate for richer taste
- Mix different chocolate percentages
Try these different ways to present your mounds cake recipe:
| Style | Baking Time | Serving Size |
|---|---|---|
| Cupcakes | 18-20 minutes | Individual portions |
| Layer Cake | 28-32 minutes | 8-10 servings |
| Sheet Cake | 35-40 minutes | 12-15 servings |
"Baking is about personal creativity - don't be afraid to experiment!" - Professional Baker
Every variation adds a special touch to the classic mounds cake. Keep in mind: store it in the fridge for up to a week or freeze for three months with proper wrapping.
Conclusion
Making the best coconut cake recipe is more than just following steps. It's a journey in baking that turns simple ingredients into a rich, moist cake. Your homemade chocolate coconut dessert shows your creativity and passion in the kitchen.

The Mounds cake recipe is a perfect mix of dark chocolate and sweet coconut. It will wow your family and friends. Whether it's for a special event or just because, this recipe makes an amazing dessert in under two hours.

Your baking skills will shine in every layer you make. With practice, you'll get better at mixing chocolate and coconut flavors. Baking is an art where precision meets creativity, and every slice has a story.

This recipe encourages you to explore your cooking skills. Enjoy the baking process, try new things, and make a dessert that brings joy to those you share it with.
FAQ
How long can I store the Mounds cake?
Store the Mounds cake in an airtight container in the fridge for up to 4 days. For longer storage, freeze it for up to 1 month. Let it sit at room temperature for 30 minutes before serving to restore its best texture and flavor.
Can I make this recipe dairy-free?
Yes, you can make the Mounds cake dairy-free. Use dairy-free milk, chocolate chips, and coconut condensed milk. Replace heavy cream in the ganache with full-fat coconut milk for a creamy texture without dairy.
What if my cake turns out dry?
A dry cake can come from overbaking or wrong measurements. To avoid this, measure ingredients carefully and don't overmix. Check the cake a few minutes before the suggested baking time. It should have a few moist crumbs when tested with a toothpick.
Can I make this recipe into cupcakes?
Absolutely! Turn the Mounds cake recipe into cupcakes by using a cupcake tin. Bake for 18-22 minutes. Apply the filling and ganache the same way to make individual desserts perfect for parties or as portion-controlled treats.
How can I make the ganache smoother?
For smooth ganache, use quality semisweet chocolate chips. Heat the heavy cream until it's almost simmering. Pour it over the chocolate and wait a few minutes before stirring. If it's too thick, add a bit of warm cream to thin it out.
Are there flavor variations I can try?
Yes, you can try different flavors! Add almond extract for an Almond Joy twist, use dark chocolate for a deeper taste, or sprinkle toasted coconut on top. You can also add raspberry jam between the cake and coconut for a fruity twist.
Can I make this cake ahead of time?
Yes, the Mounds cake is great for making ahead. Prepare the cake base and coconut filling a day before and store them in the fridge. Add the ganache topping just before serving for the best texture and look. It's perfect for planning ahead for special events.
A Note from the Chef
Let us know if you try it, your feedback fuels our passion!



2 thoughts on “Mounds Cake Recipe: 5 Easy Steps for Coconut Bliss”